Kitchen: Episode III – Electricity
Episode III of our kitchen renovation: Electrical wiring and lighting.

Previous Episodes
Context
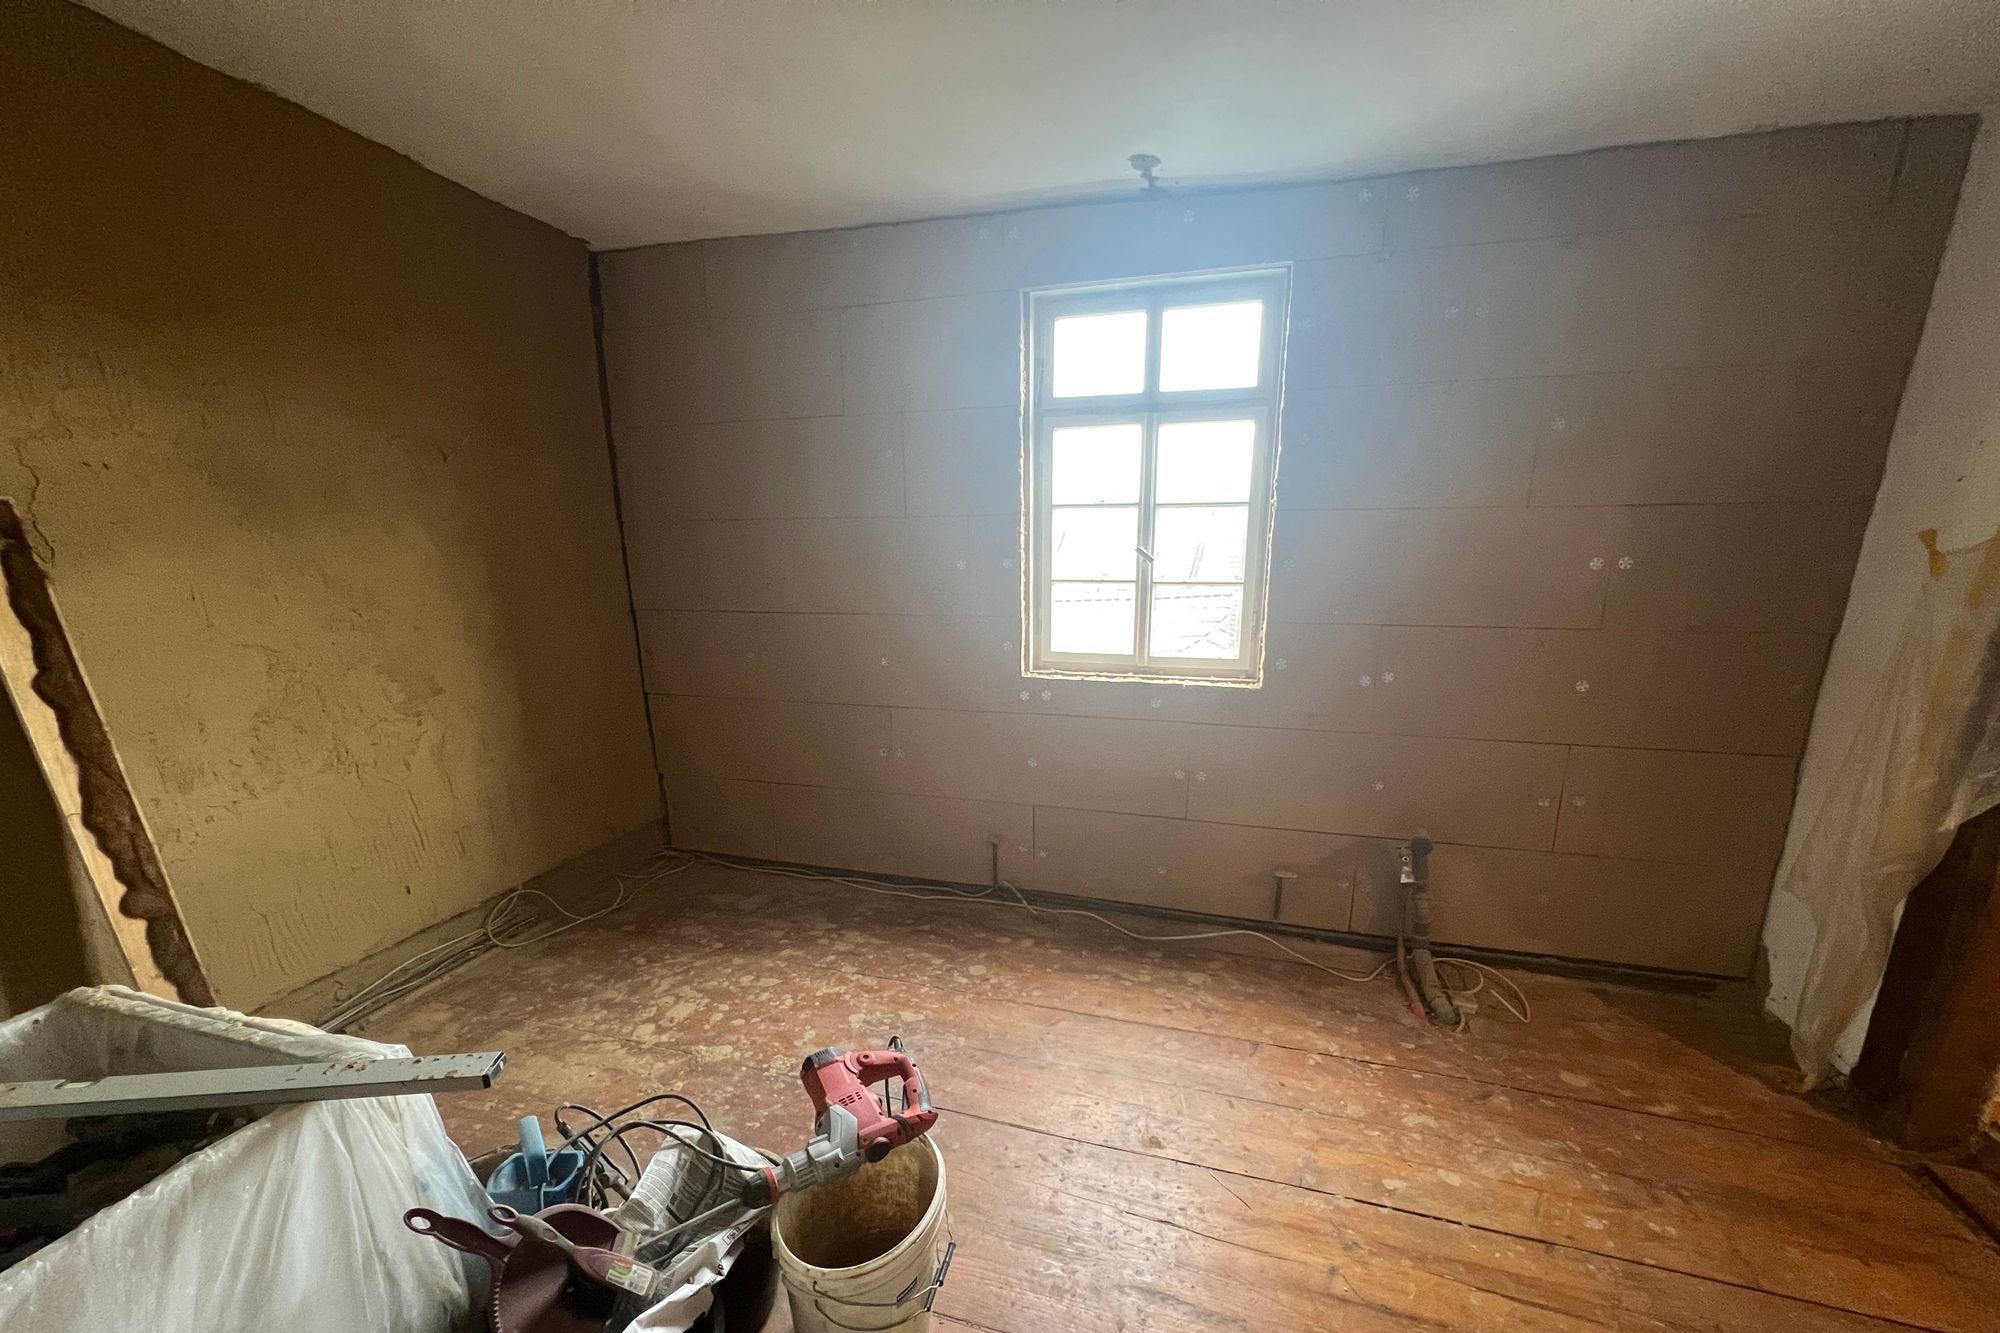
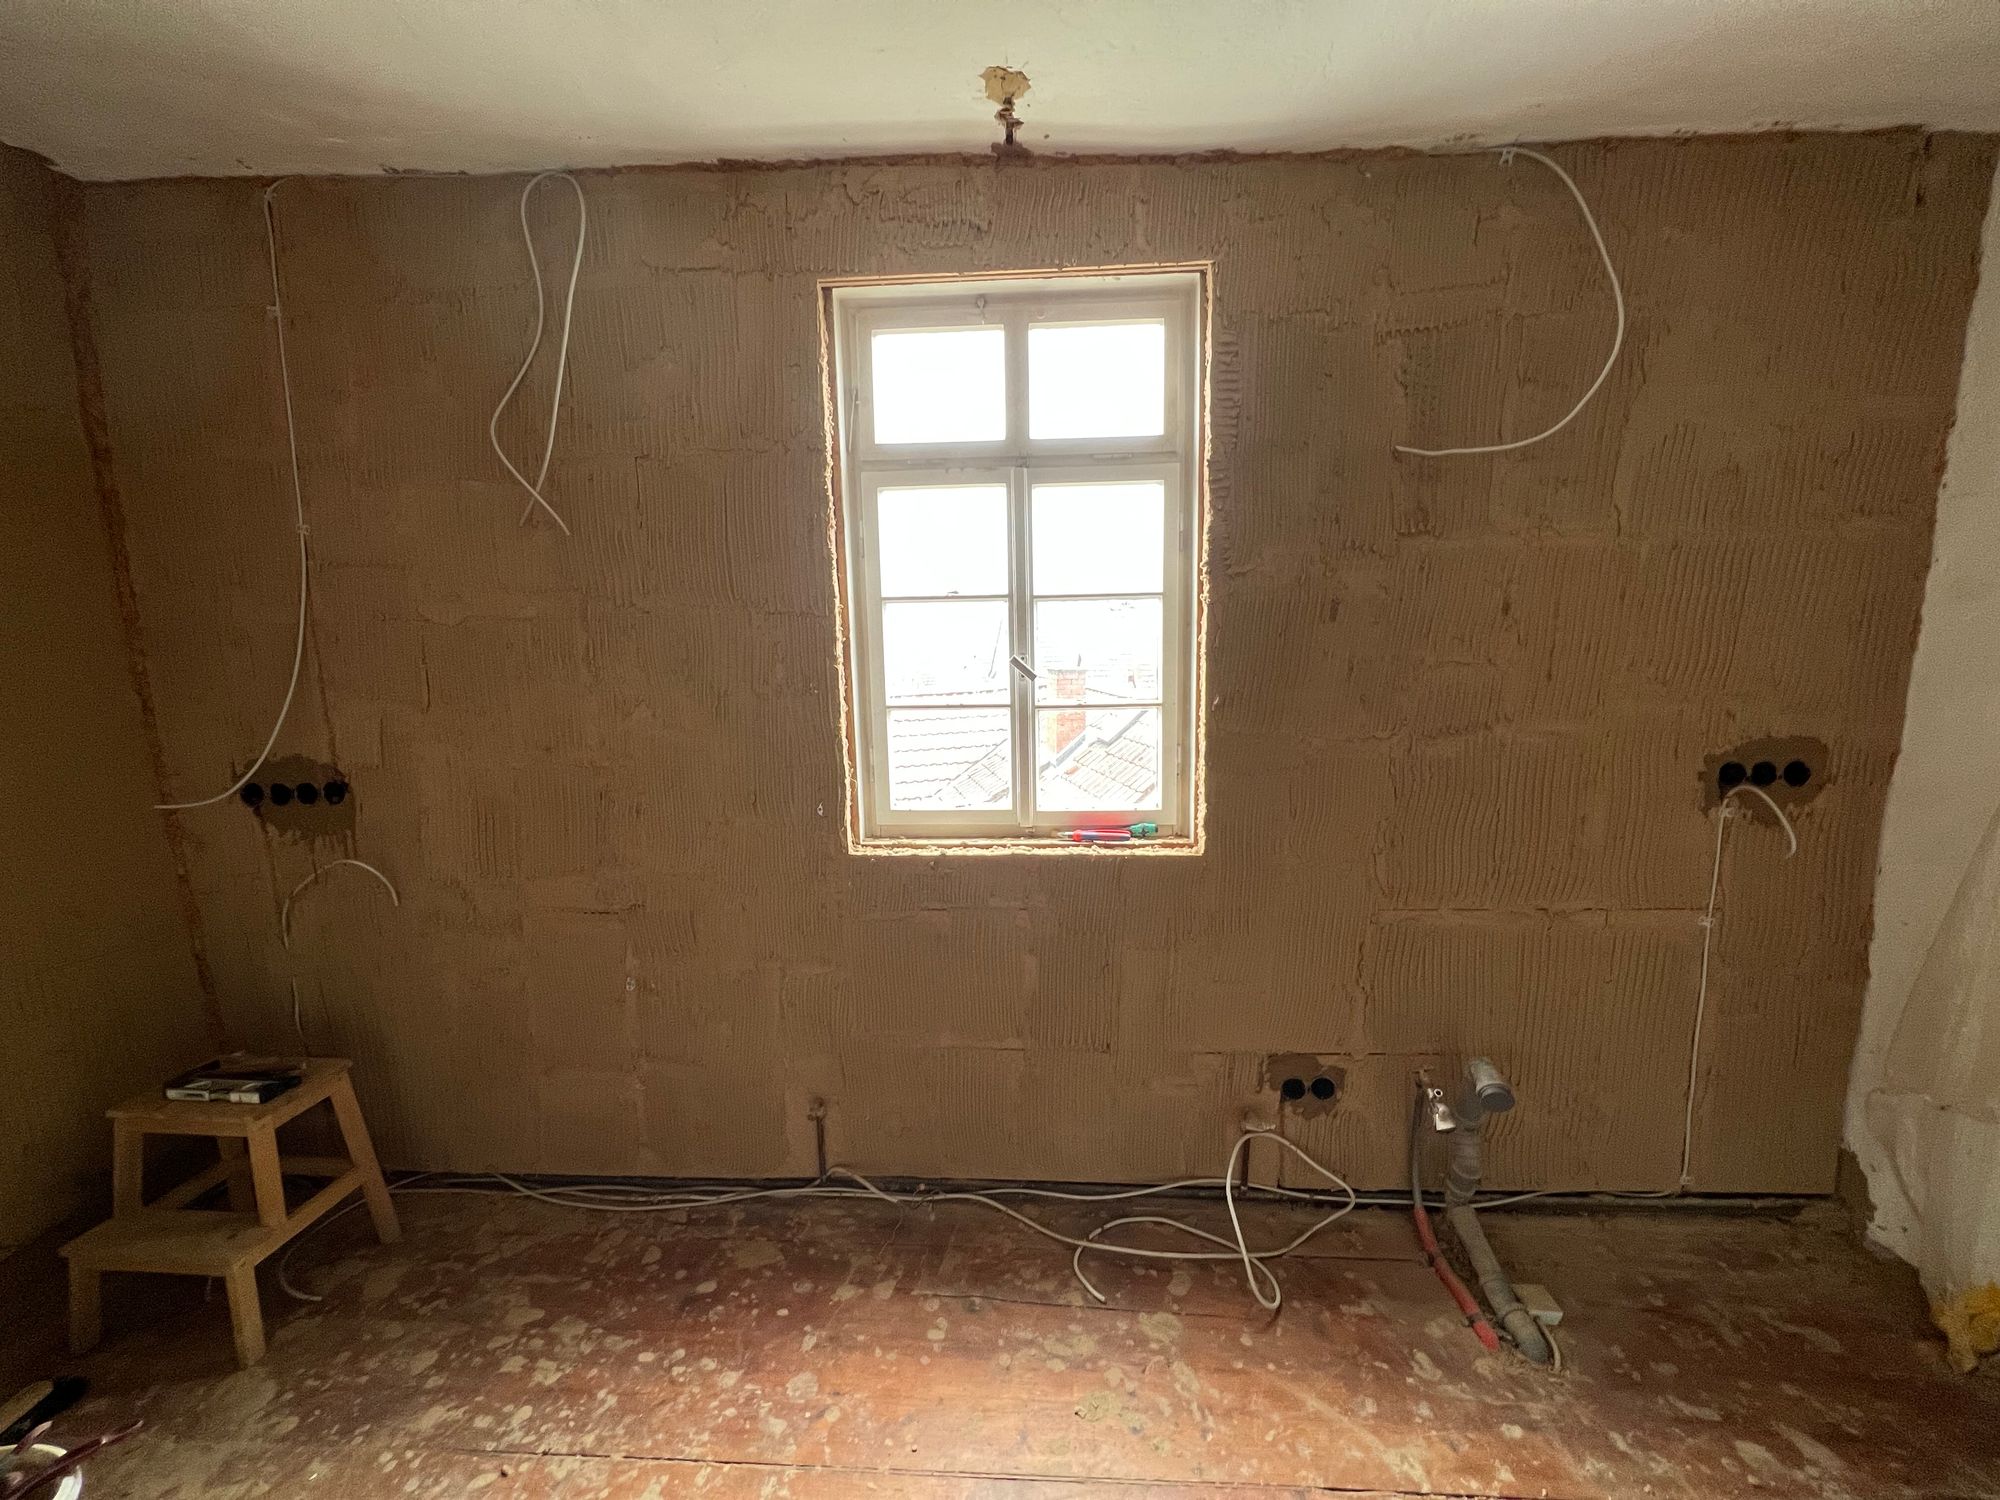
When we bought the house we brought in an electrician to check all the existing wiring to make sure it’s safe. As the lines themselves were in a good state we mainly invested in improved distribution boxes and circuit breakers and only did some minor changes to the sockets and switches.
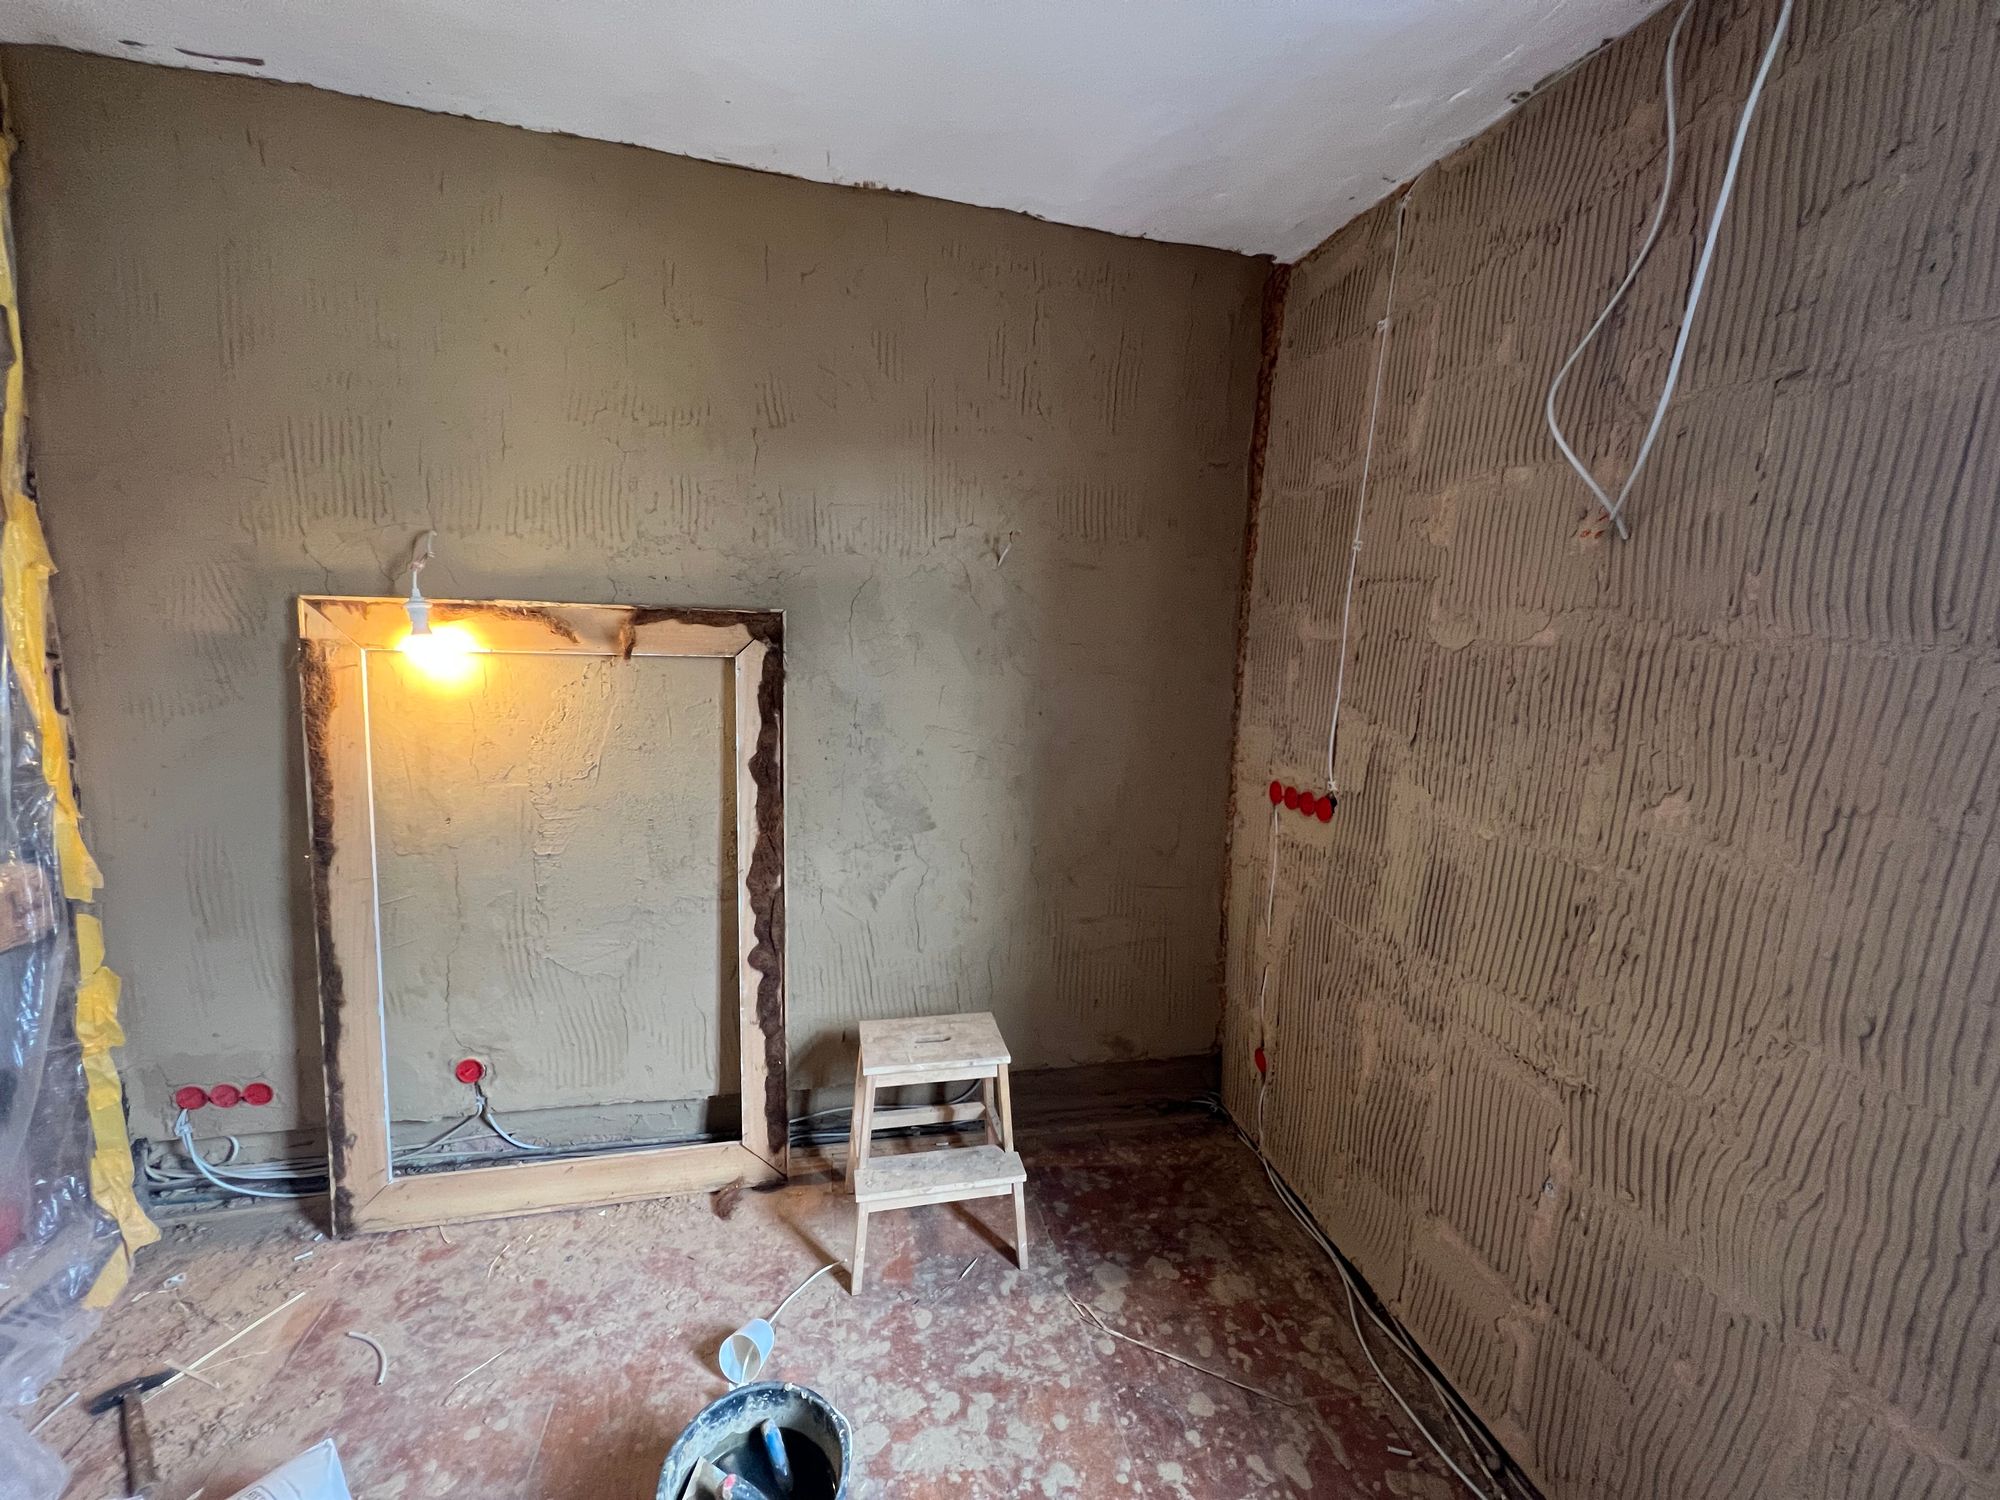
As we insulated the walls from the inside we needed to redo the electric wiring. This was a good chance to adjust it to our needs. When we started the renovation project I was super scared of doing anything related to electricity, but over time I got a lot more comfortable (thanks YouTube ❤️). Don’t worry, an actual trained electrician checked everything is safe.
Planning
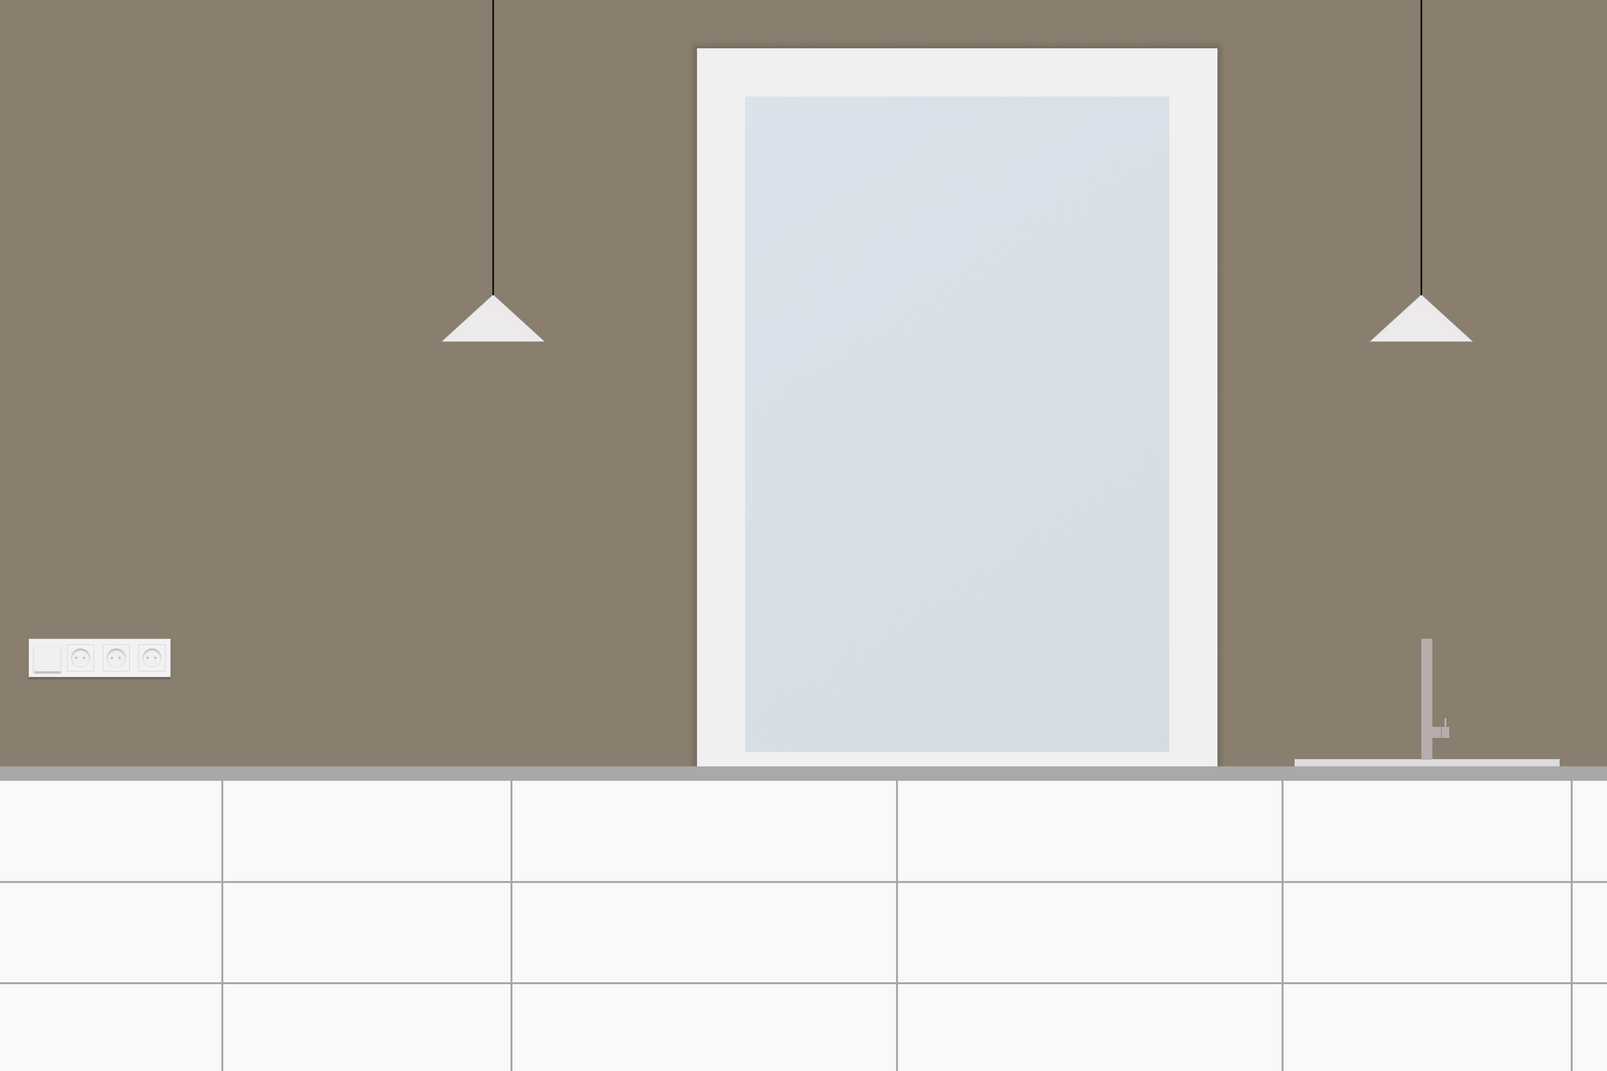
To plan things properly I once again decided to use Figma for visualisation. It helps me a lot to quickly be able to move things around, get feedback and incorporate it. It also works well as documentation in case we want to make any changes in the future.
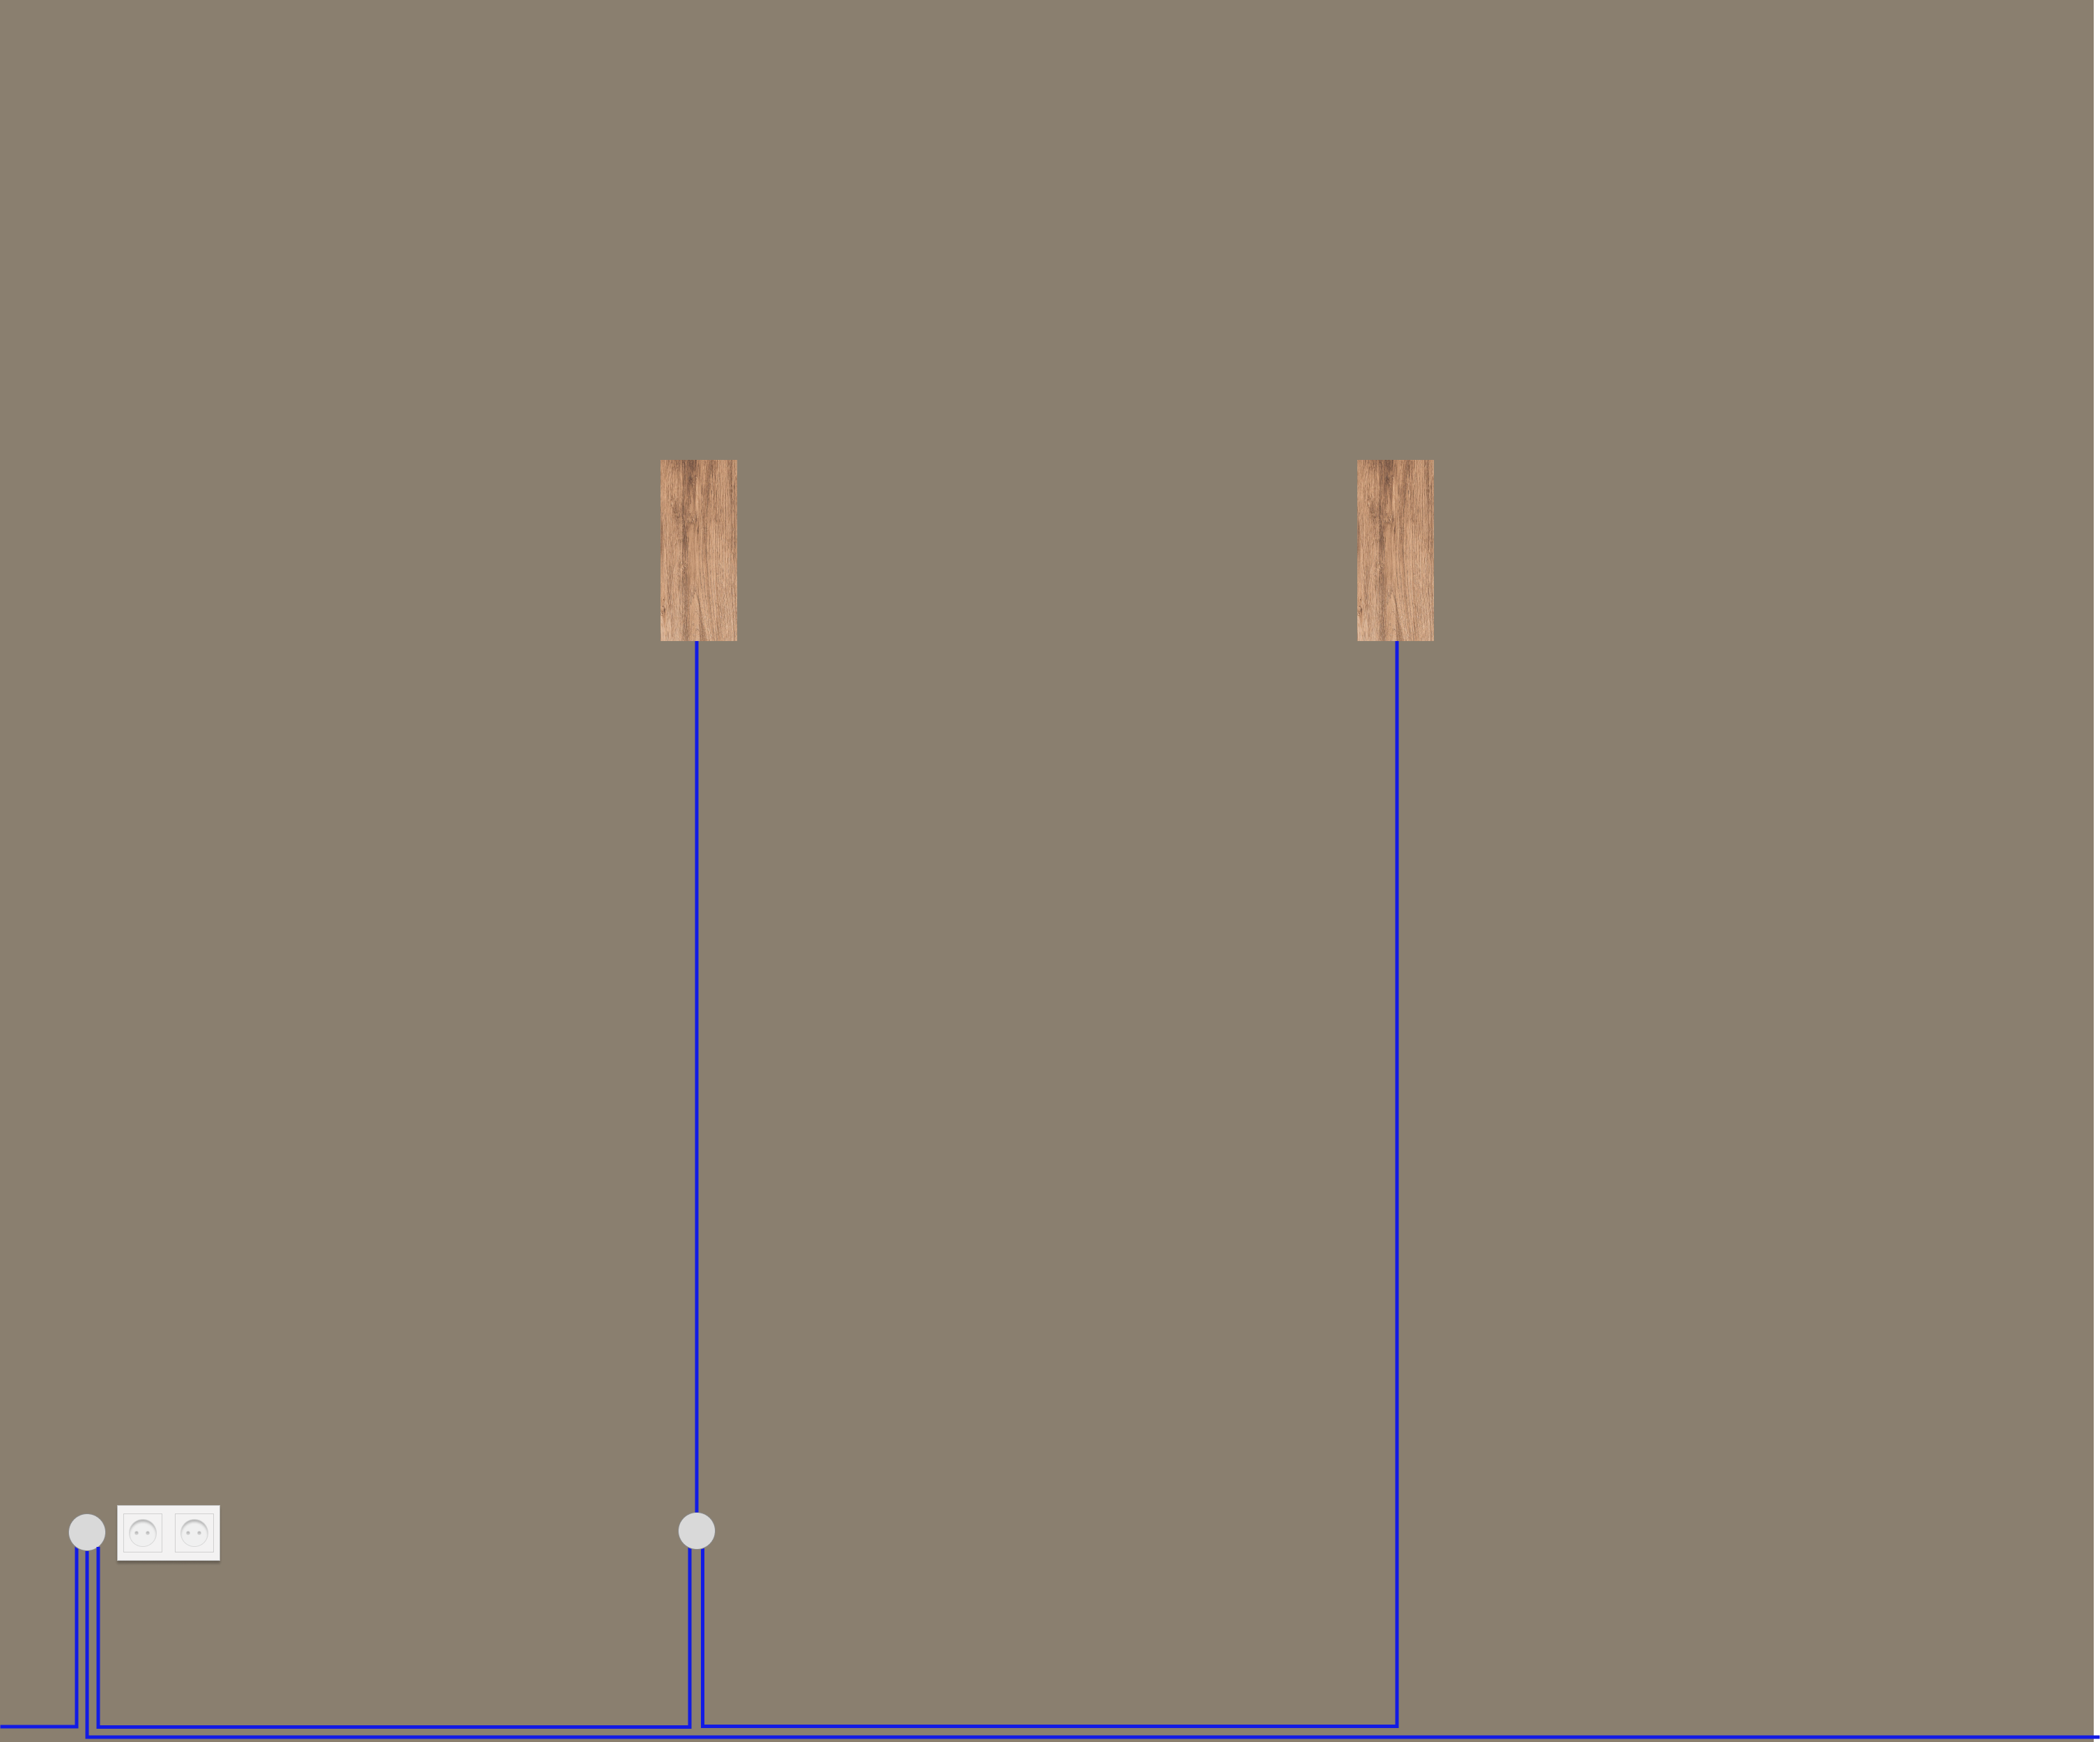
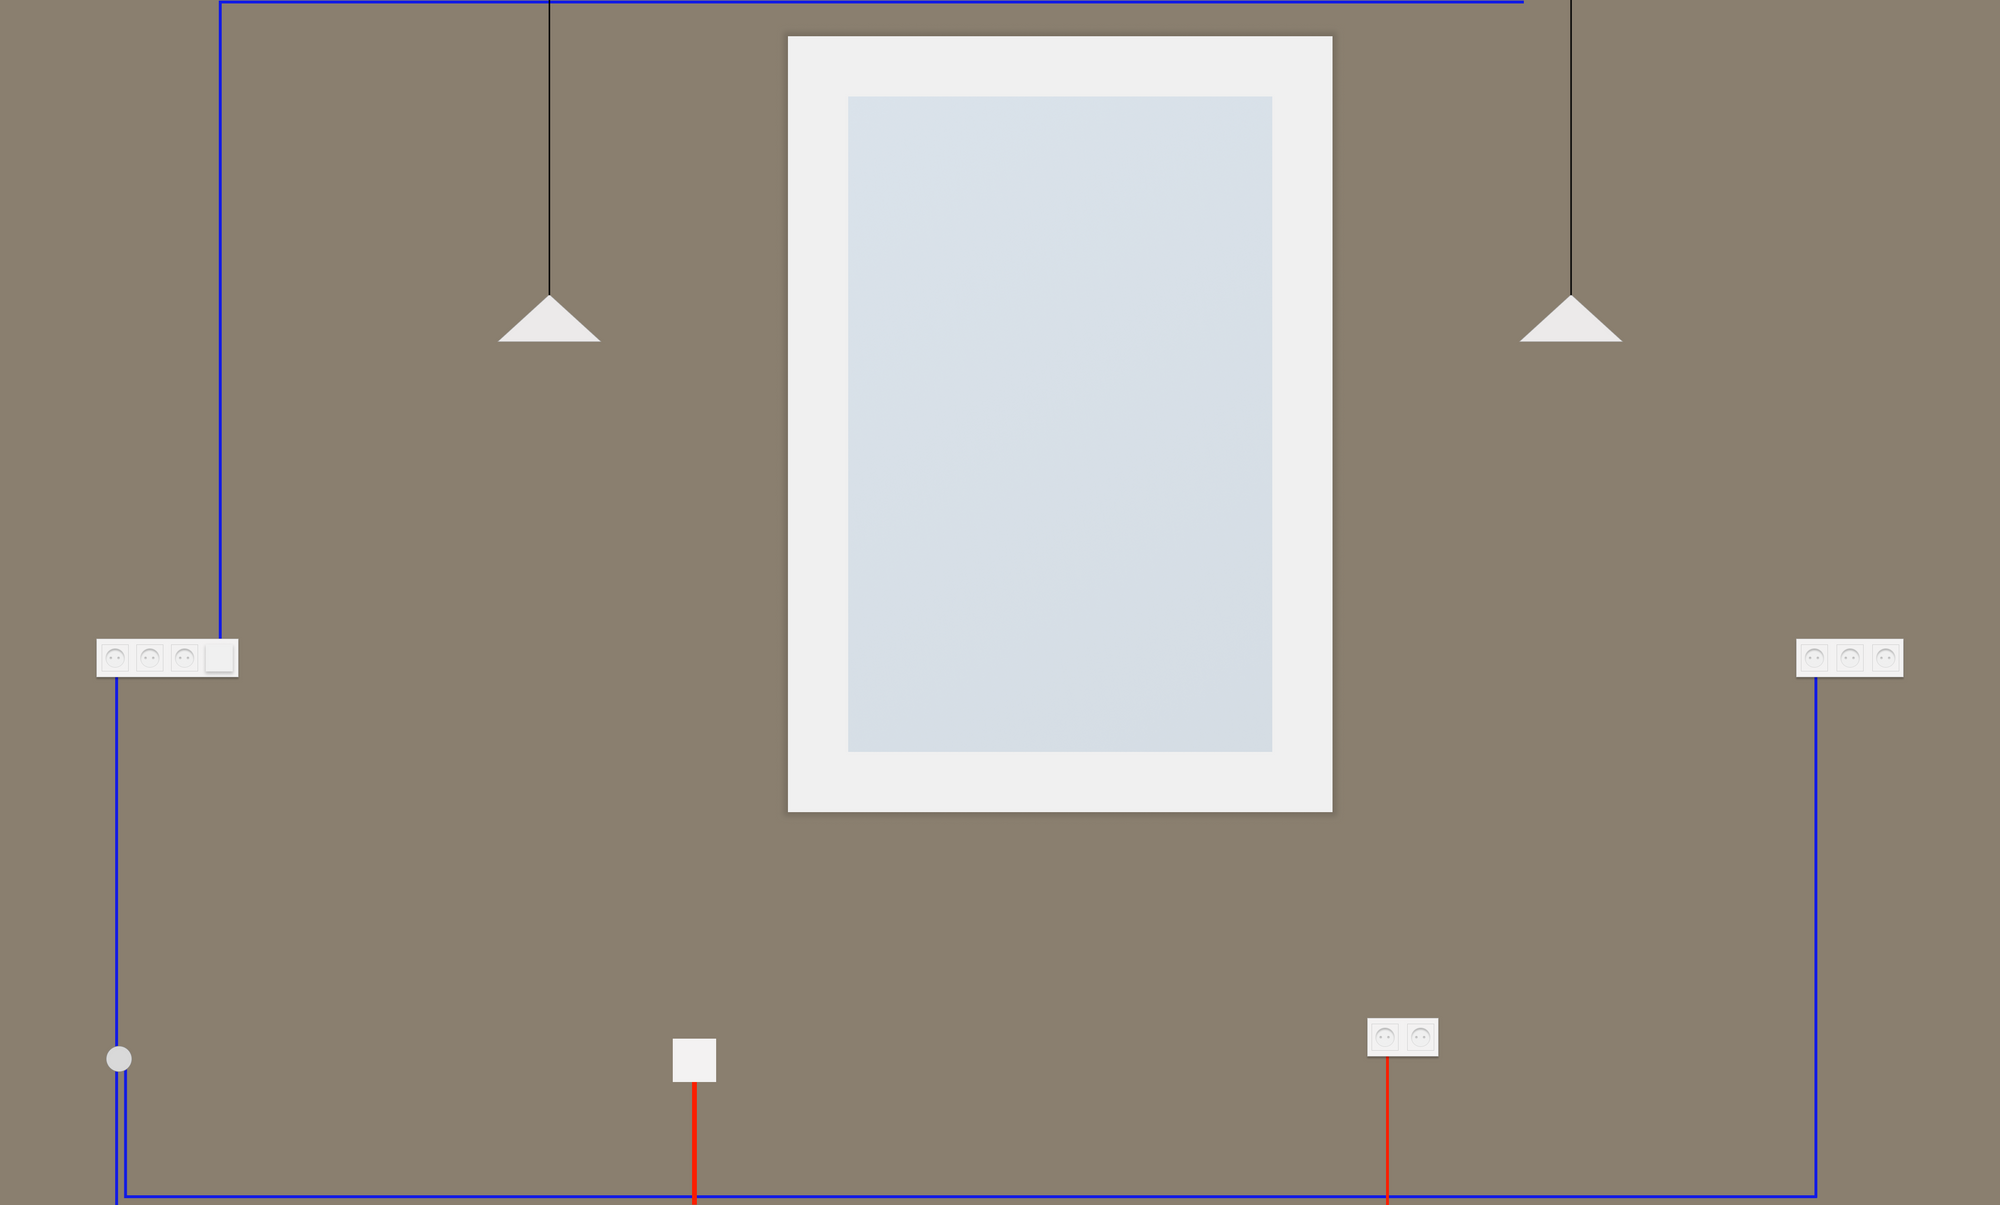
Planning the wiring using Figma
Lighting
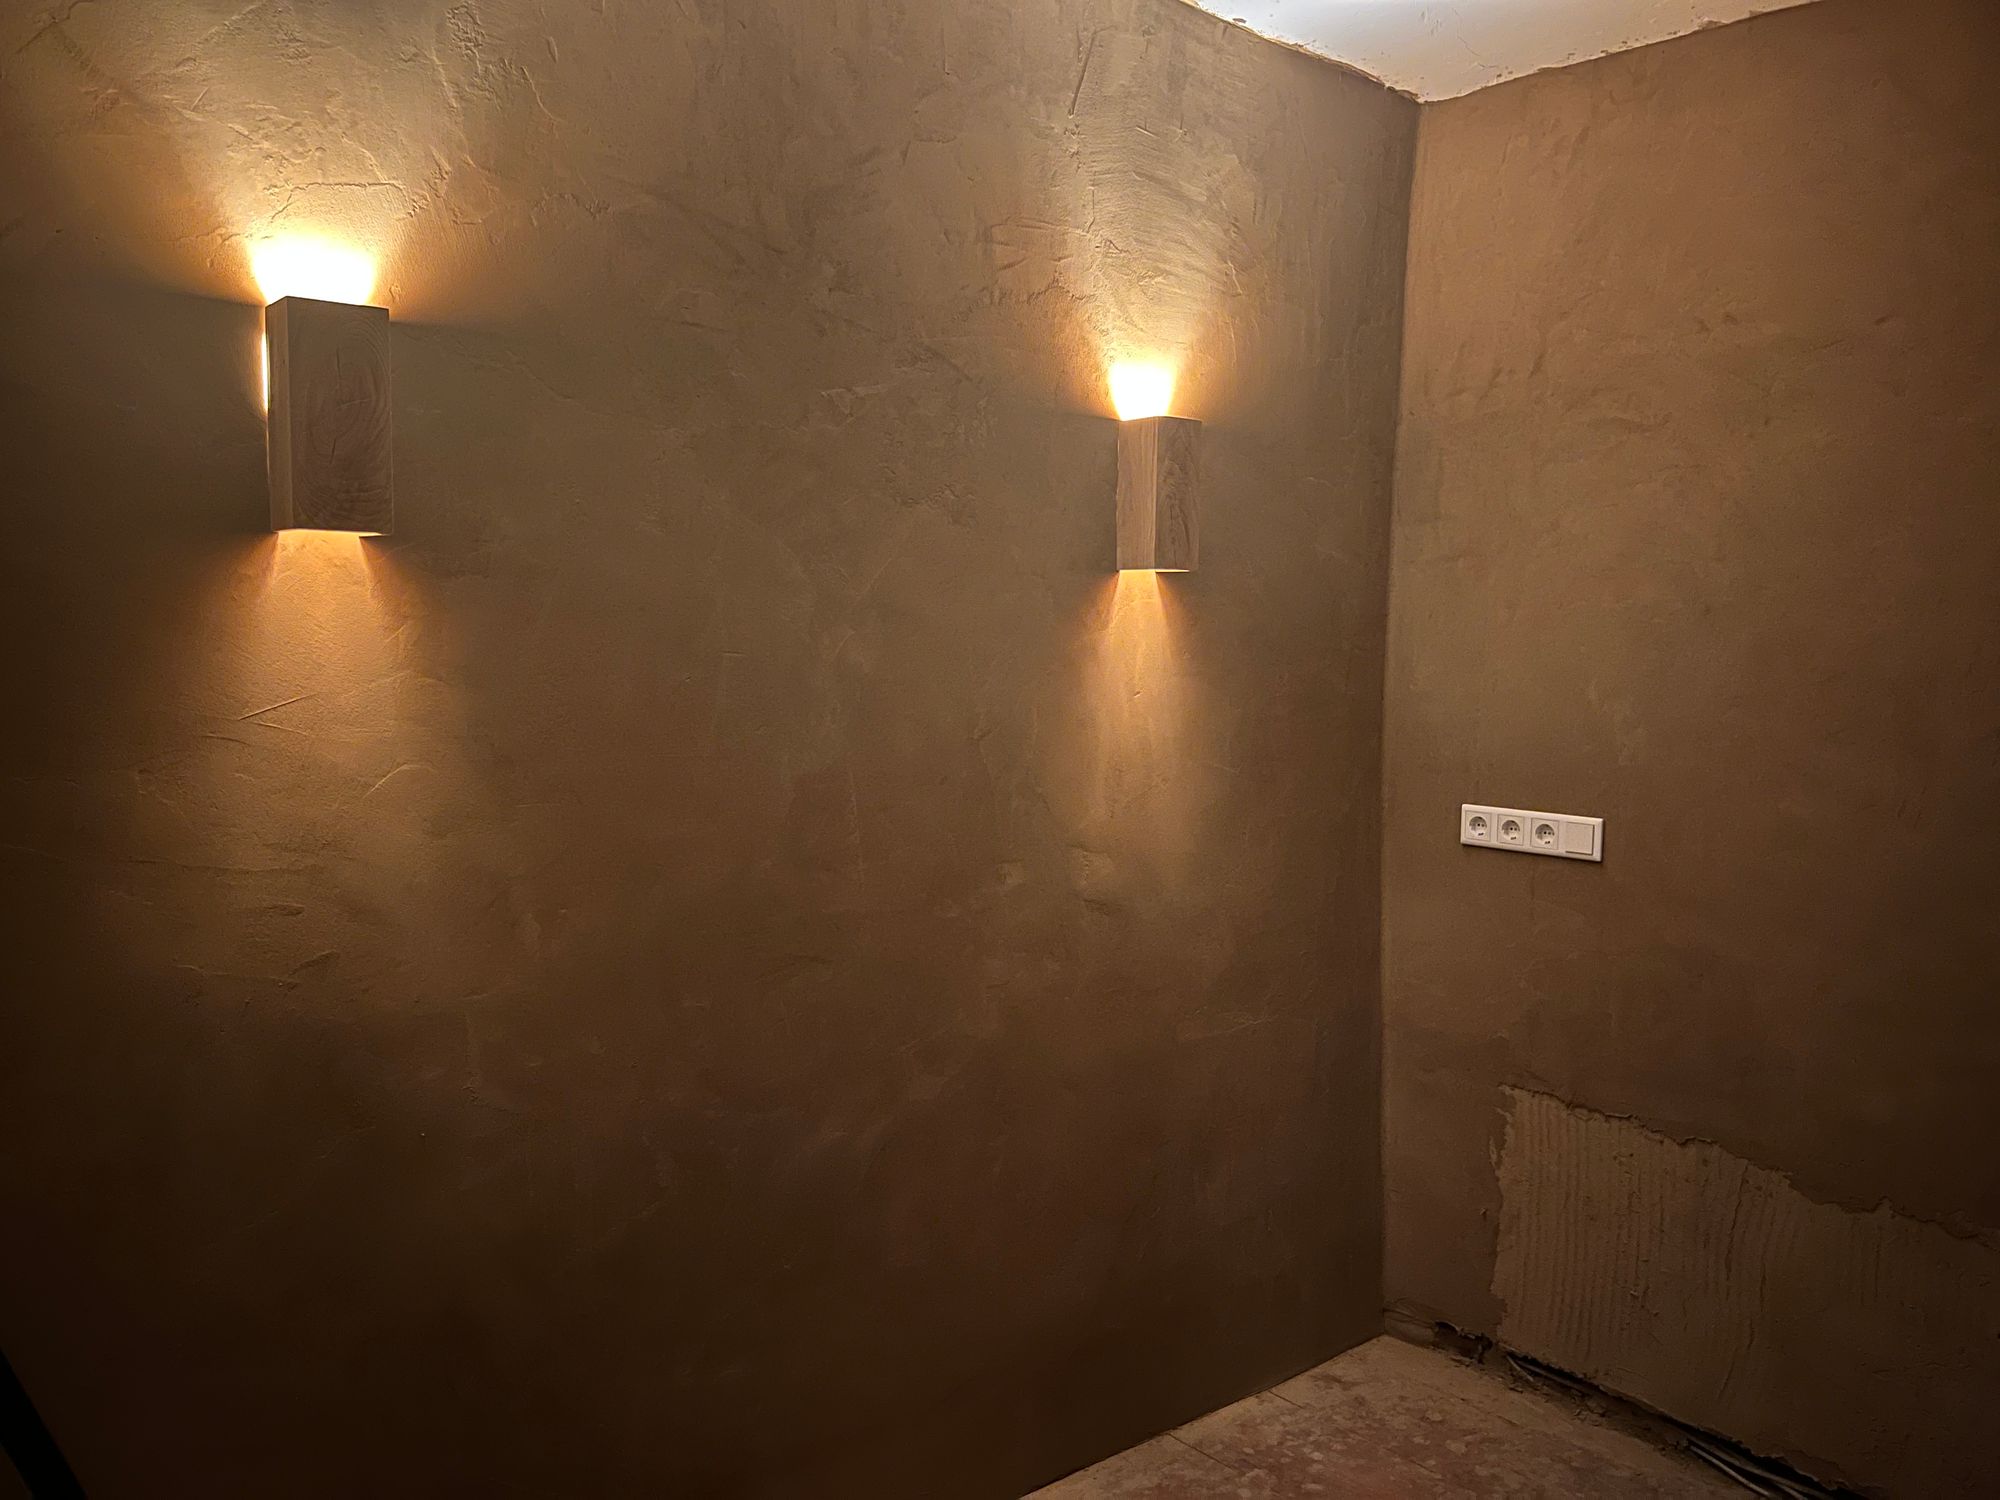
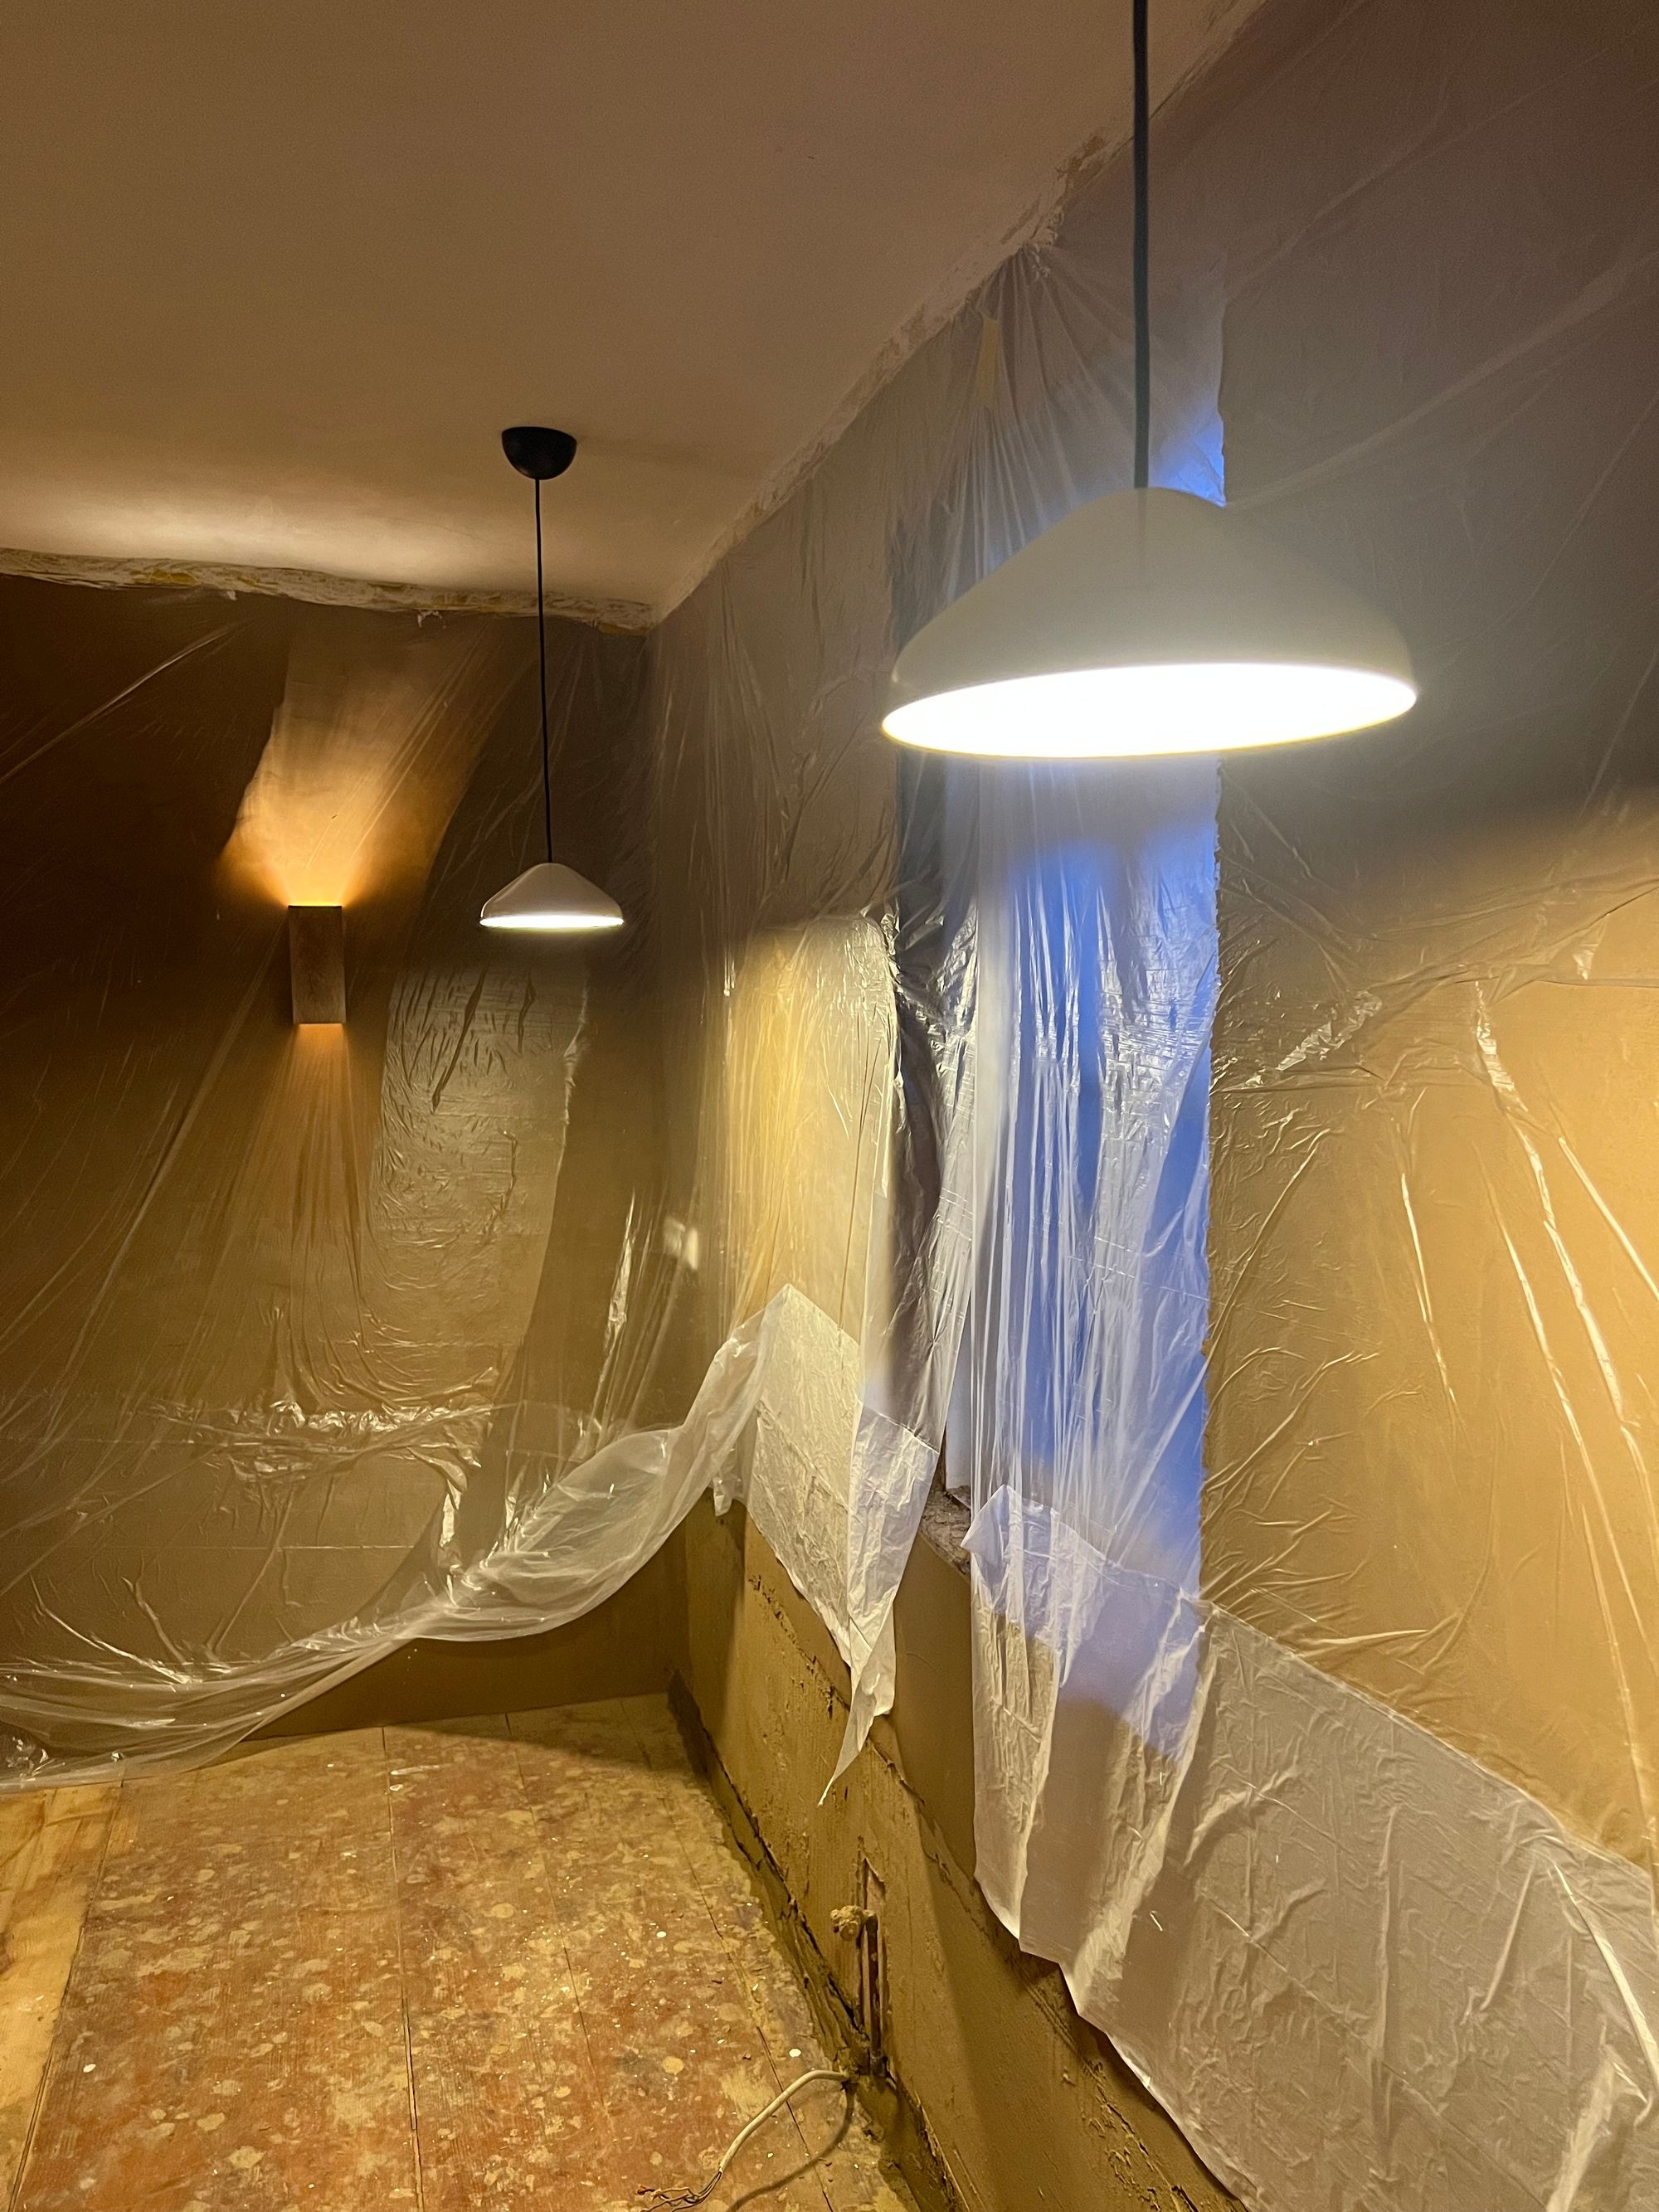
We wanted to have two types of lighting: mood light and light to get the actual work in the kitchen done. For the mood light we added two wall lights made of oak on the left wall. We’ve used the same type in our bathroom already (Monklights). For the actual working area we added two pendant lights (HAY Pao steel). As we are trying to avoid adding physical light switches the wall lights are using Philips Hue (E27 white ambient) bulbs. The pendant lights are using two G9 LEDs each and as there are no hue options yet we decided to go for an Eve light switch that can be controlled via HomeKit.
The Result
- 2x 2 outlets
- 1x 3 outlets
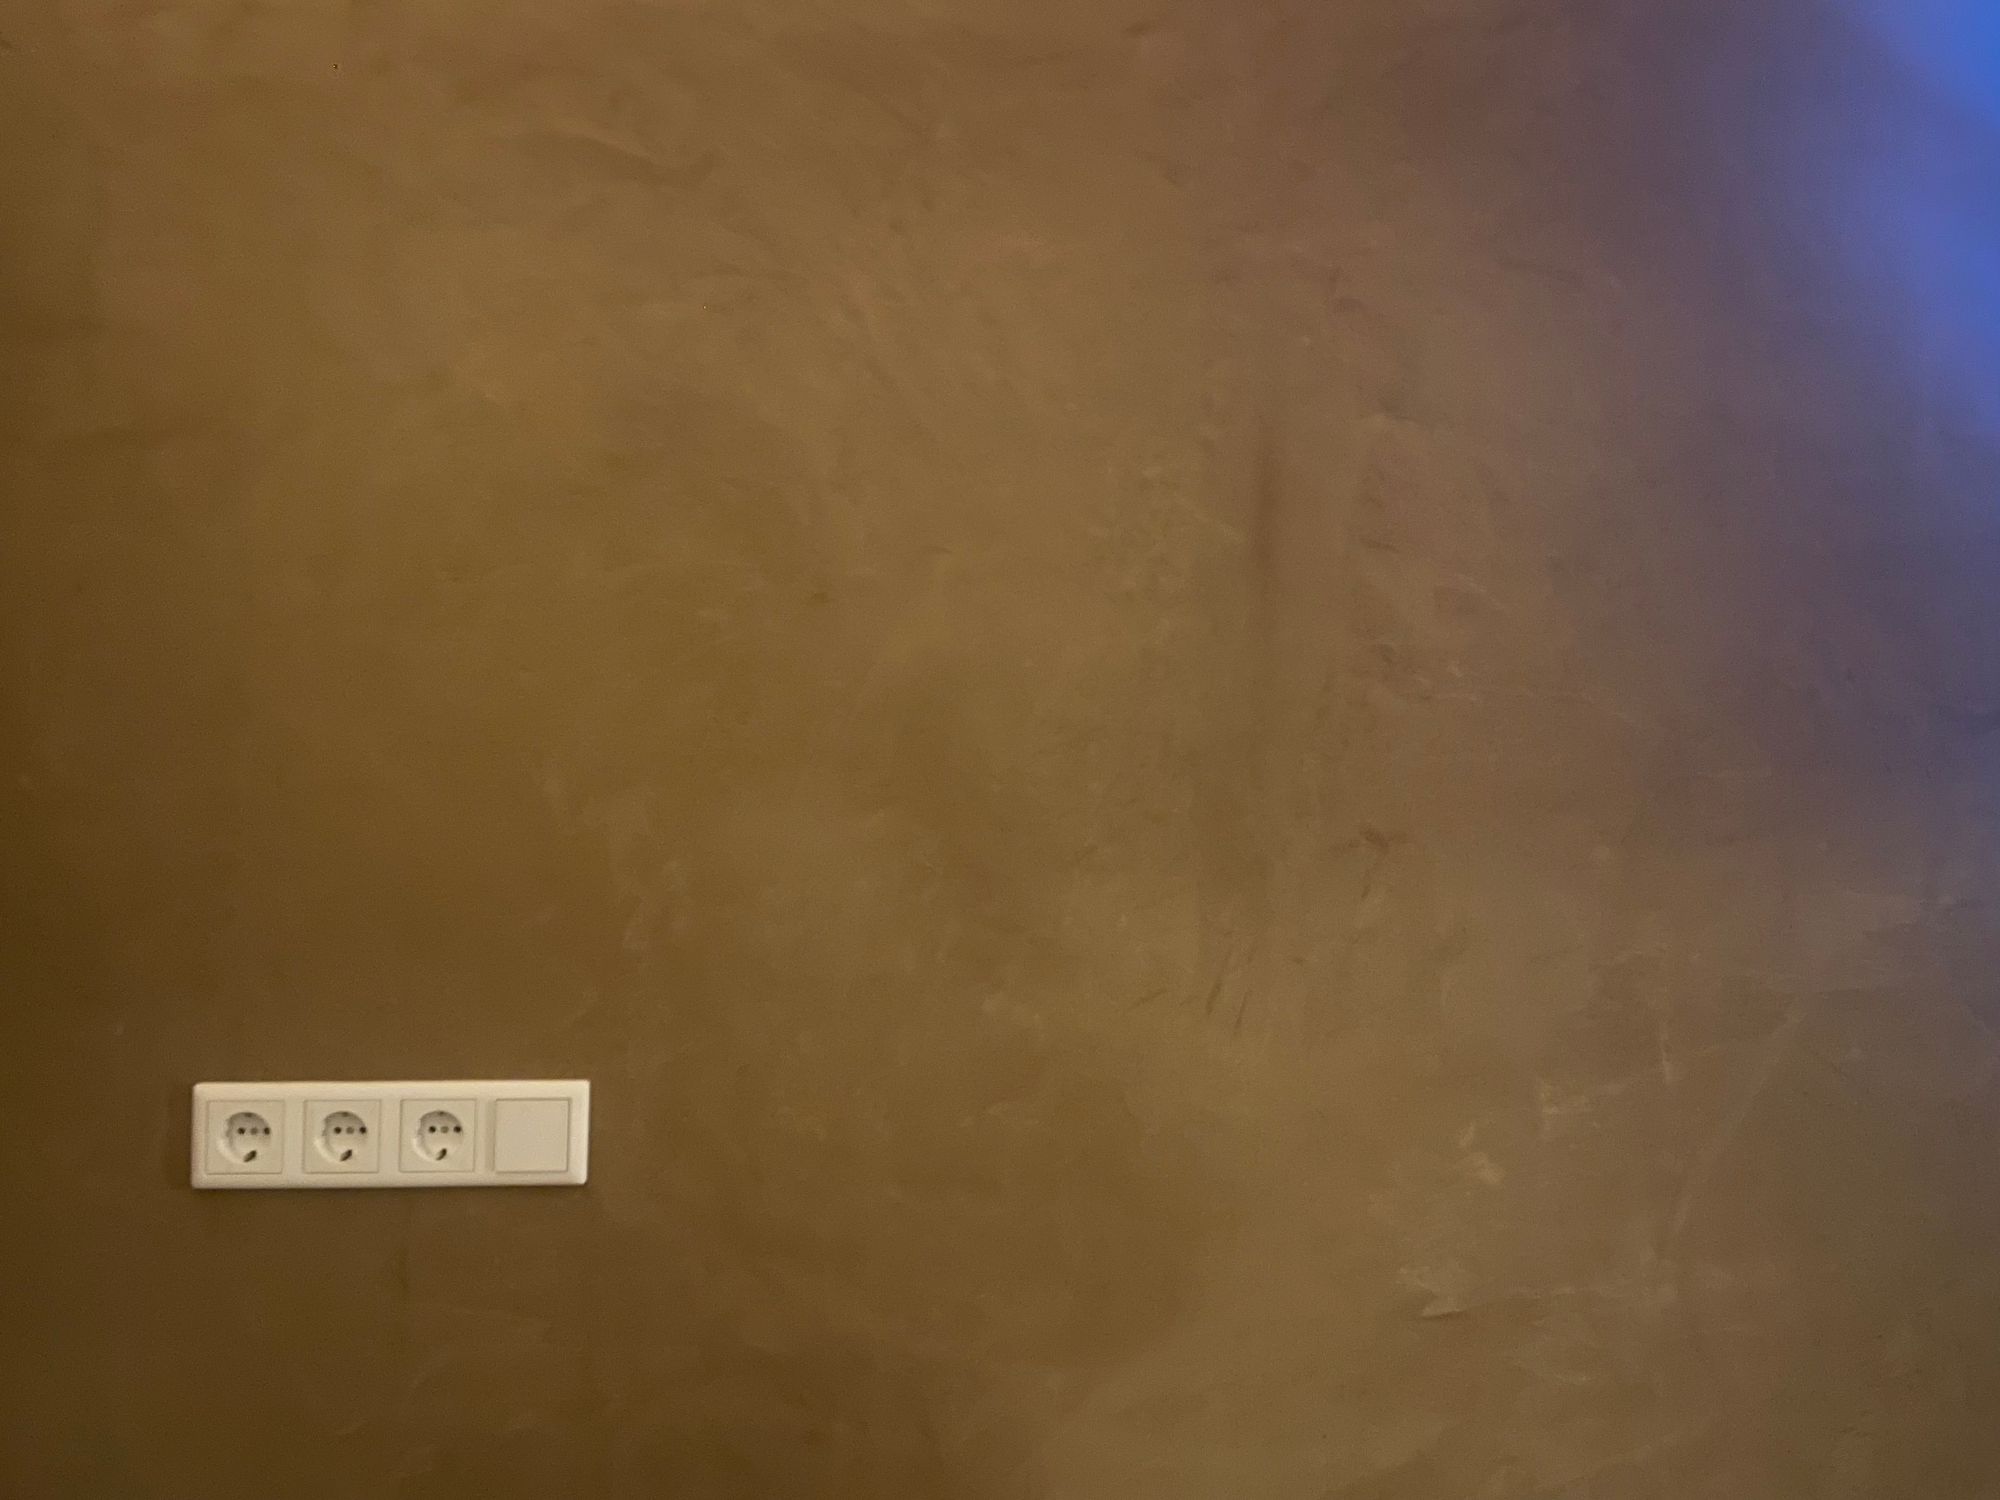
- 1x 3 outlets + Eve light switch
- 1x line for the stove
- Two wall lights (Monklights Secundus) permanent current, Hue bulbs
- Two ceiling lights (HAY Pao Steel 23cm, grey) controlled by Eve light

I hope you enjoyed this episode. Take care ☀️
